

Running News Daily
Running News Daily is edited by Bob Anderson and team. Send your news items to bob@mybestruns.com Advertising opportunities available.
Index to Daily Posts · Sign Up For Updates · Run The World Feed
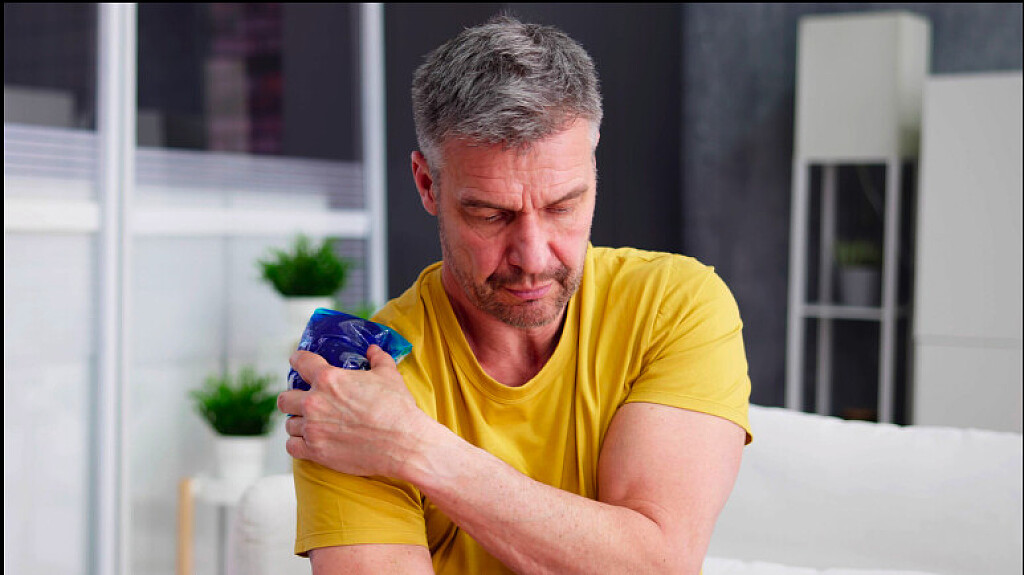


How to Make a Homemade Gel Ice Pack

Plus, what to keep in mind as you ice that sore muscleRest, recover, and ice, ice, ice. If you’ve been injured, you’re likely familiar with this phrase. And like your plan to heal, icing is individual to you. While other members of your training group may prefer a bag of ice or frozen peas, you may gravitate toward the feel of a gel ice pack.
Instead of shelling out money on Amazon, you can make your own gel ice pack at home. However, icing an injury or ache is a bit more complicated than slapping a bag on your leg. Here’s what to keep in mind.

Icing is individual to you—and is something that should be discussed with and cleared by a medical professional, says Jen Caudle, DO, associate professor of family medicine at Rowan University in New Jersey. For example, if you have poor blood flow to certain areas of your body or nerve damage, there are certain risks. Depending on your injury and preference, there will be a particular cooling source that works best for you, Caudle says, whether a gel ice pack or a bag of frozen peas.
You’ll also want to find something to wrap around the pack. “It’s important to cover up ice packs with a towel,” Caudle says. “That sort of removes the extreme cold, which can actually damage skin and tissues.”
Timing is also critical. Leaving an ice pack on for more than the sanctioned amount of time can potentially create more problems than solutions, Caudle says. She recommends, for most people, to leave an ice pack on for no longer than 15 to 20 minutes.
Here, Caudle breaks down how to construct your own gel ice—using just four different items you likely already have lying around the house.
What you need: Rubbing alcohol (with a concentration of at least 70 percent isopropyl alcohol), water, a measuring cup, a resealable plastic bag
1. Pour ⅓ cup of rubbing alcohol and ⅔ cup of water into a plastic bag. If you want to create a larger ice pack, double or triple the amounts. The ratio should always remain two parts water to every one part rubbing alcohol.2. Squeeze out any air, seal the bag tightly, and mix the rubbing alcohol and water.3. Place your bag in the freezer for a few hours. It should feel like a gel substance when you remove it.4. Use your gel ice pack on sore muscles and joints. Return it to the freezer after you’ve finished icing.
by Outside Online
Login to leave a comment
Latest Running News
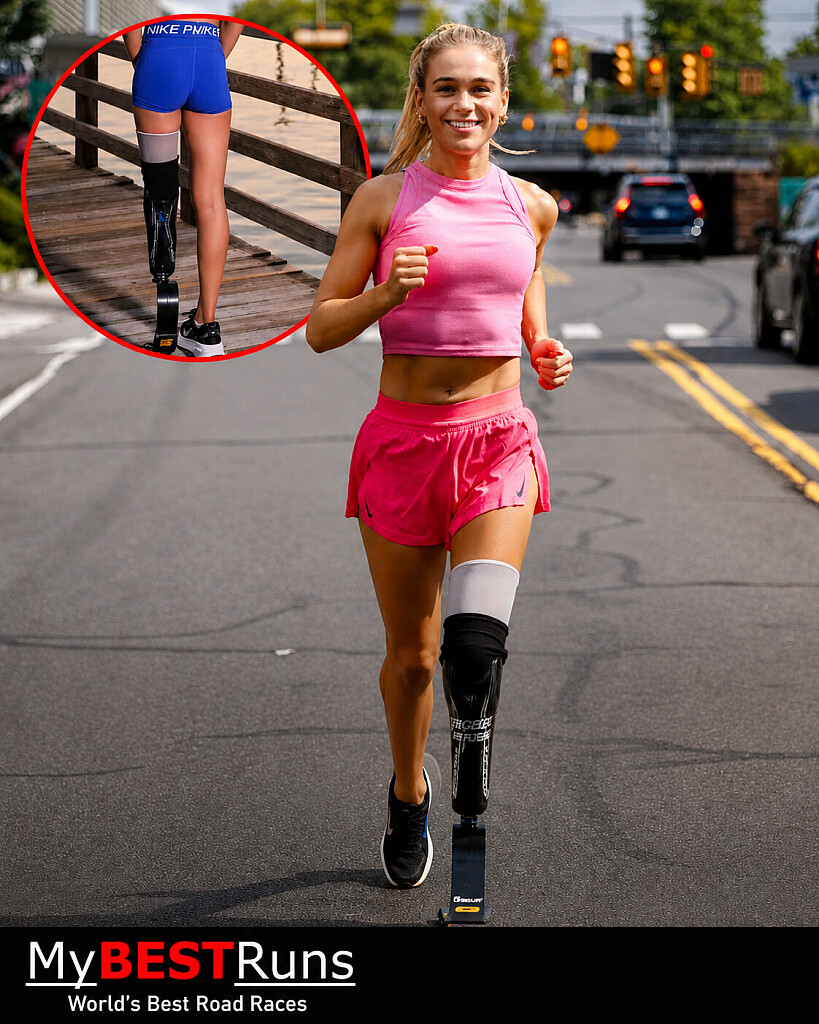
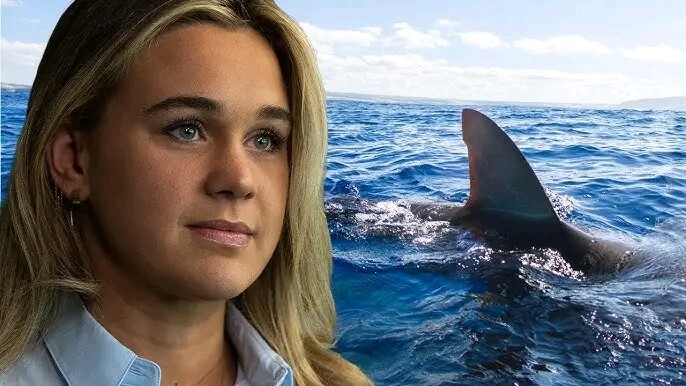
From Shark Attack Survivor to New York City Marathon Finisher: Ali Truwit's Extraordinary Journey of Courage and Resilience
Some victories are measured by finish times. Others are defined by the obstacles overcome simply to reach the starting line.
For American Paralympic swimmer Ali Truwit, completing the New York City Marathon represented far more than covering 26.2 miles. It was the culmination of an extraordinary journey of survival, resilience, and unwavering determination that began with a life-altering shark attack just two years earlier.
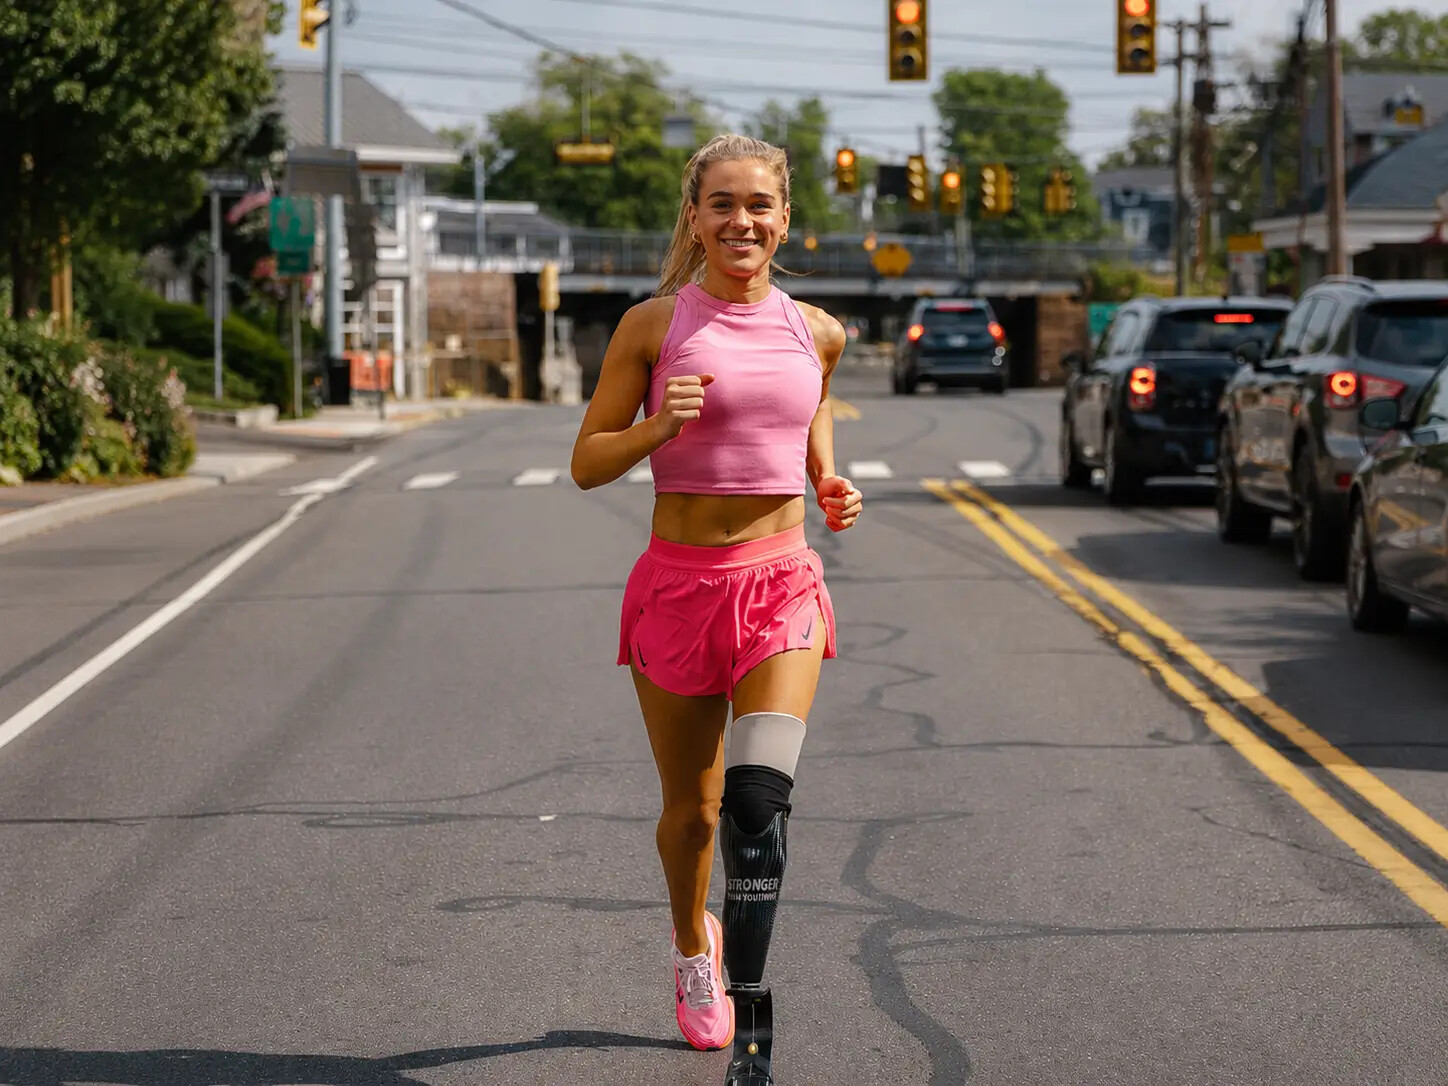
On a crisp November morning in 2025, Truwit crossed the iconic finish line wearing a carbon-fibre running blade, fulfilling a promise she had made while recovering in a hospital bed after losing her lower left leg. The emotional milestone marked another remarkable chapter in one of the most inspiring comeback stories in modern sport.
The road to that unforgettable finish began only days after Truwit celebrated a major personal achievement. In May 2023, she completed her first marathon in Copenhagen alongside her mother. Just ten days later, while enjoying a graduation trip to Turks and Caicos with former Yale swimming teammate Sophie Pilkinton, tragedy struck.
While the pair were snorkelling, a shark attacked Truwit, severely injuring her left leg. Displaying remarkable courage, the two swam approximately 55 metres back to their boat, where Pilkinton—then a medical student—quickly applied a tourniquet that stopped the bleeding and ultimately saved Truwit's life.
Doctors were forced to amputate her lower left leg on her 23rd birthday.
Even in the darkest moments of recovery, Truwit's determination never disappeared. Reflecting on having recently completed her first marathon, she joked with one of the first responders that at least she had managed to run a marathon before the attack. The responder's simple but powerful reply would remain with her throughout rehabilitation: "You'll run another one."
Those words became a source of hope during the long and demanding road back.
Only weeks after surgery, Truwit began learning to walk on a prosthetic limb before gradually returning to the swimming pool. The process was anything but straightforward. The water that had once been her sanctuary became a source of painful memories, yet she refused to allow fear to define her future.
Her relentless work ethic soon produced extraordinary results.
Less than 16 months after the attack, Truwit represented the United States at the Paris 2024 Paralympic Games, producing a sensational performance to claim both silver and bronze medals. Standing on the Paralympic podium was a powerful reminder of how far she had come in such a short period, and she dedicated those achievements to everyone who had helped save her life.
Still, another dream remained unfinished.
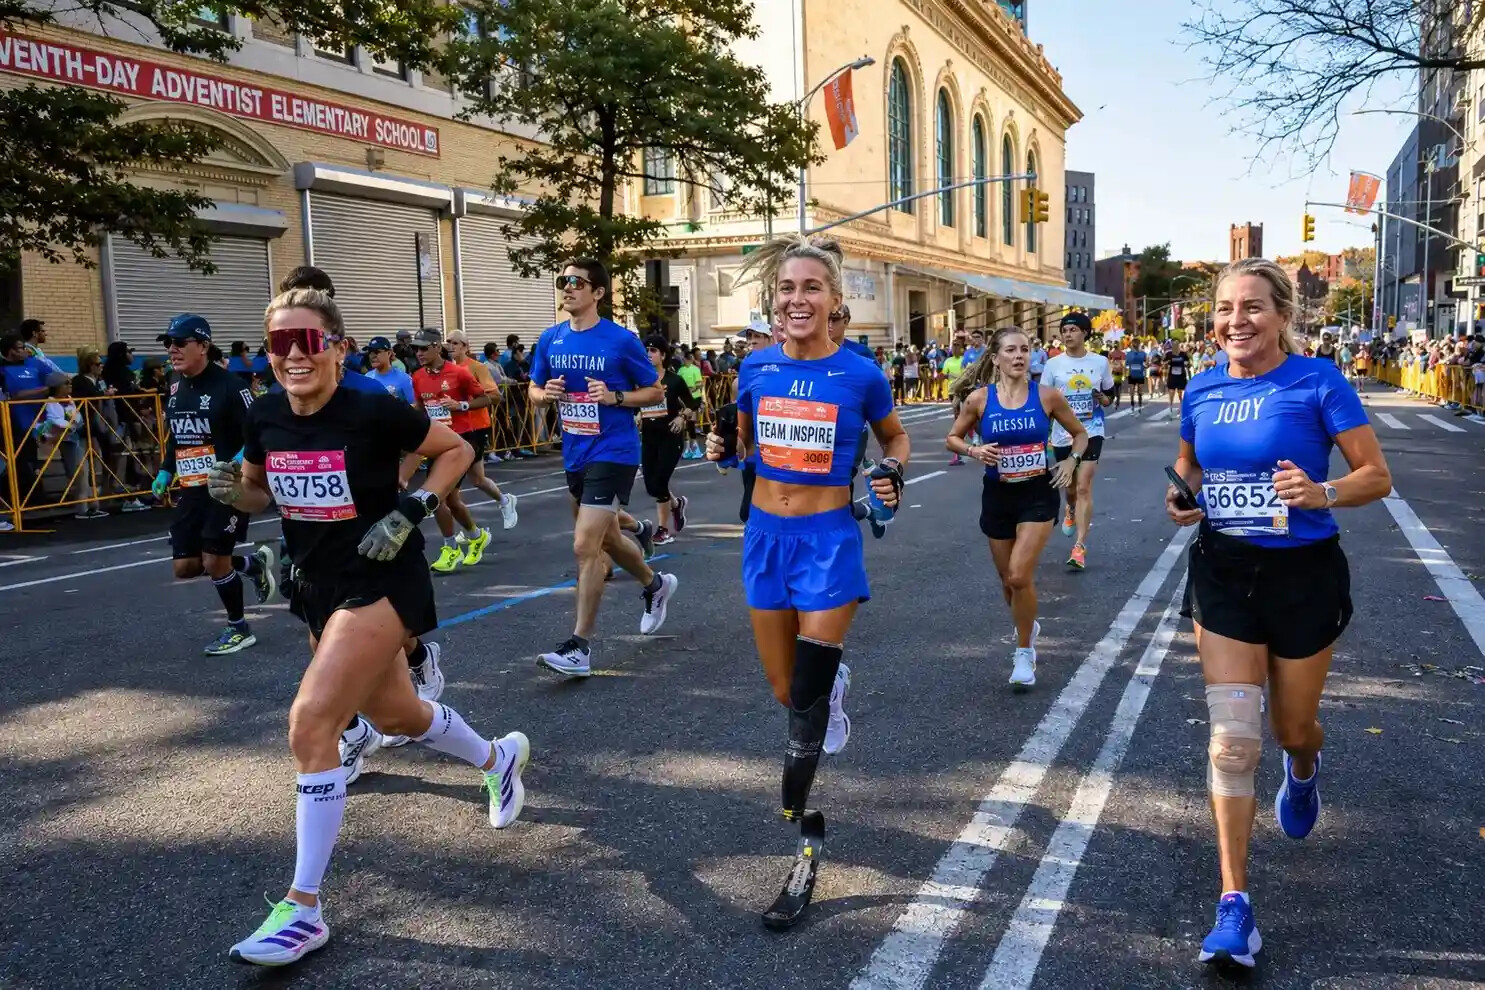
The New York City Marathon carried deep personal significance. It was not merely another endurance event but a symbolic return to the city where her life had changed forever. On November 2, 2025, she lined up in Staten Island accompanied by 13 family members and close friends, all proudly representing her nonprofit foundation, Stronger Than You Think. Among them was Pilkinton, the friend whose quick thinking had preserved her life on that unforgettable day in the Caribbean.
Together, they covered every mile of the marathon before celebrating an emotional finish that Truwit later described as being "over the moon."
Completing a marathon on a carbon-fibre running blade presents challenges far beyond those faced by able-bodied runners. The prosthetic demands greater strength from the hips, core, and remaining leg while requiring exceptional balance, coordination, and endurance. Truwit's preparation combined months of disciplined training, patience, and mental resilience as she effectively taught herself how to run again.
Her story extends well beyond medals and marathon finishes.
Inspired by her own recovery, Truwit founded Stronger Than You Think, a nonprofit organisation dedicated to helping individuals overcome physical and financial barriers following limb loss. Recognising that sports prosthetics can cost tens of thousands of dollars and are often not covered by insurance, the foundation provides financial assistance for prosthetic devices, supports water-safety education, and promotes opportunities within Paralympic sport.
The organisation has already helped provide more than 11 prosthetic limbs, delivered nearly $200,000 in direct support, and funded over 4,000 hours of water-safety lessons benefiting more than 700 young people.
Throughout her journey, Truwit has remained refreshingly honest about the emotional challenges that continue to accompany recovery. She has openly acknowledged that healing is an ongoing process and that grief can still come in waves. Rather than portraying an effortless comeback, she has demonstrated that resilience is built through persistence, even on the hardest days.
Her remarkable transformation resonates far beyond elite sport. While few people will ever experience the trauma she endured, countless runners and athletes understand the frustration of injury, disappointment, or rebuilding after adversity. Truwit's journey serves as a powerful reminder that recovery is rarely linear and that courage is often measured by the willingness to keep moving forward despite uncertainty.
Now looking ahead to the Los Angeles 2028 Paralympic Games, Truwit continues to redefine what is possible. She is no longer known simply as the swimmer who survived a shark attack. She has become a Paralympic medallist, marathon finisher, advocate, and symbol of resilience whose story continues to inspire athletes around the world.
Her journey proves that while life can change in an instant, so too can the strength of the human spirit. Sometimes the greatest triumph is not returning to the person you once were, but discovering someone even stronger than you ever imagined possible.
by Erick Cheruiyot for My Best Runs.
Login to leave a comment
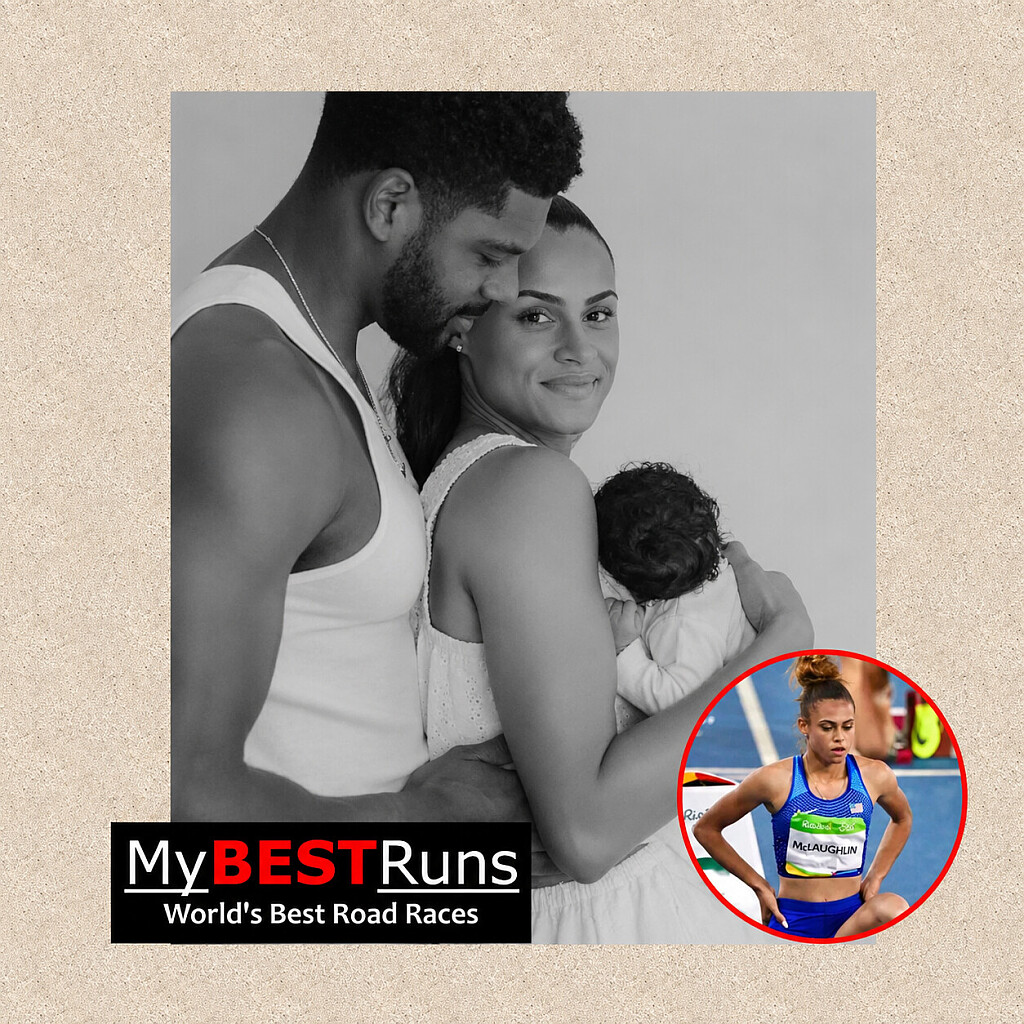
Olympic Champion Sydney McLaughlin-Levrone Welcomes First Child, Beginning a Beautiful New Journey
Sprint and hurdles superstar Sydney McLaughlin-Levrone has entered an exciting new chapter in her remarkable life, welcoming her first child with husband Andre Levrone. The four-time Olympic champion and women's 400m hurdles world record holder announced the birth of their daughter, Savannah Michelle Levrone, who was born on Sunday, July 12, 2026.
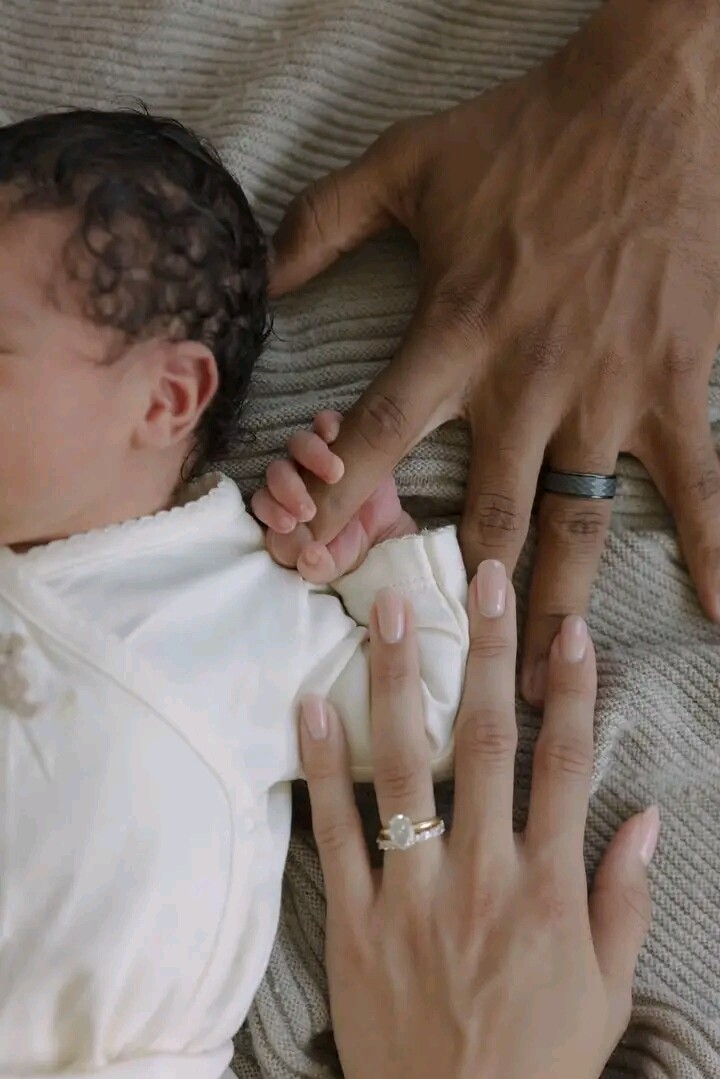
The couple shared the joyful news with an emotional message celebrating the arrival of their daughter and expressing gratitude to everyone who supported them throughout the pregnancy. Sydney described Savannah as "our blessing and our joy," while expressing excitement and faith for the future that lies ahead for their growing family.

The announcement marks a deeply personal milestone for one of the most accomplished athletes of her generation. Renowned for redefining the women's 400m hurdles through a succession of record-breaking performances, McLaughlin-Levrone now embraces a new role beyond the track as a mother.
The timing of the announcement adds another layer of significance. Just days earlier, Sydney reflected on the 10th anniversary of qualifying for her first Olympic Games at only 16 years old—a breakthrough that launched one of the most decorated careers in modern athletics. Ten years later, her journey has come full circle with another life-changing milestone, underscoring that her greatest moments continue to extend beyond sporting success.
The arrival of Savannah Michelle Levrone has been met with an outpouring of congratulations from athletes, fans, and the wider sporting community, who have celebrated the couple as they begin this new chapter together. As Sydney McLaughlin-Levrone steps into motherhood, the athletics world will undoubtedly continue to follow her inspiring journey—both on and off the track.
by Erick Cheruiyot for My Best Runs.
Login to leave a comment
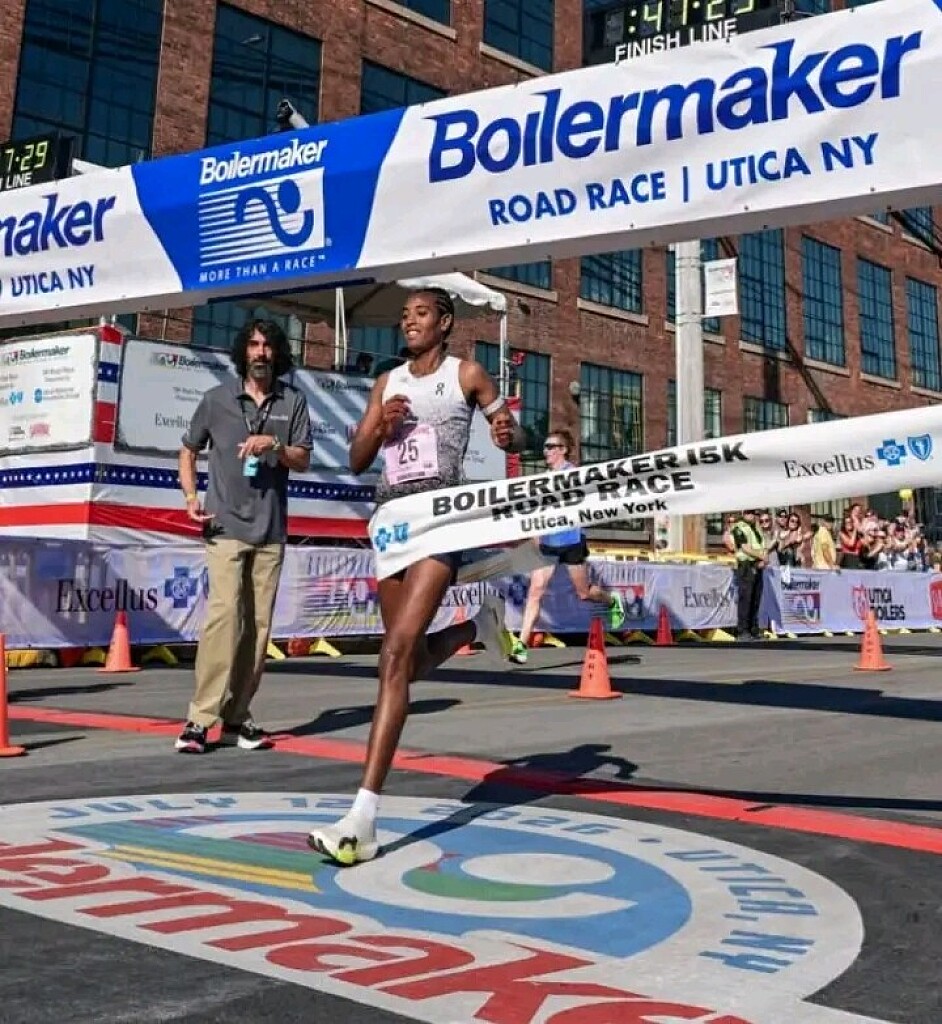
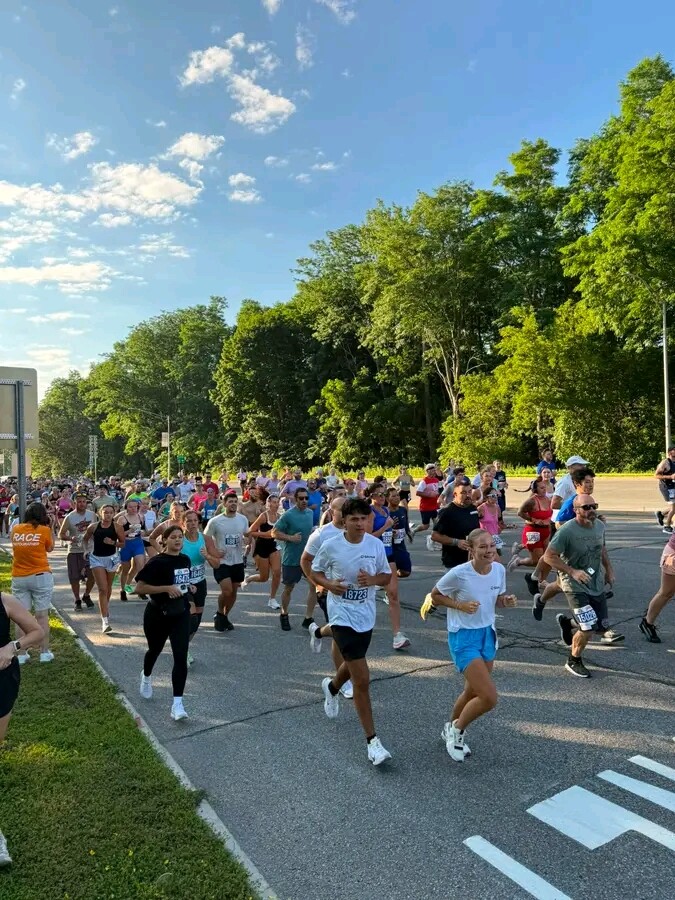
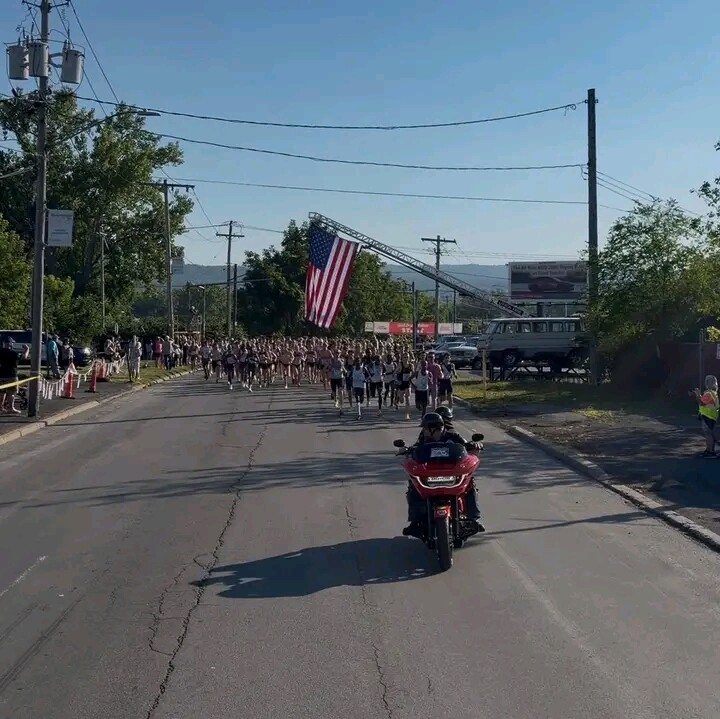
Tsige Gebreselama Rewrites Boilermaker 15K History with Stunning Course Record in Utica
Ethiopia's Tsige Gebreselama produced one of the standout road running performances of the season on Sunday, storming to victory at the prestigious Boilermaker Road Race 15K in Utica, New York, with a sensational course record of 47:29.
From the opening kilometers, Gebreselama controlled the race with remarkable composure and precision, maintaining a relentless pace that ultimately erased the previous course record and secured one of the fastest performances ever recorded on the historic course. Her commanding display further reinforced her reputation as one of the world's leading road and distance runners.
The Ethiopian celebration continued as Melknat Wudu crossed the finish line in second place in 47:44, completing a dominant one-two finish for her country. Kenya's Priscah Cherono claimed third in 48:14 after a determined effort, rounding out a world-class podium in a race featuring some of the finest distance runners on the international circuit.
The battle behind the podium remained fiercely competitive. Kenya's Everlyn Kemboi finished fourth in 48:28, narrowly ahead of compatriot Selah Busienei, who clocked 48:31 for fifth. Ethiopia's Netsanet Desta and Alem Nigus Tsadik followed in sixth and seventh respectively, while Kenya's Mercy Cherono secured eighth place.
American athletes also delivered encouraging performances on home roads. Veteran Stephanie Bruce finished ninth in 50:40, with Jackie Gaughan completing the top ten in 51:02 to cap a strong showing for the host nation.
Boilermaker Road Race 15K – Women's Top 10 Results
1. Tsige Gebreselama (Ethiopia) – 47:29 (Course Record)
2. Melknat Wudu (Ethiopia) – 47:44
3. Priscah Cherono (Kenya) – 48:14
4. Everlyn Kemboi (Kenya) – 48:28
5. Selah Busienei (Kenya) – 48:31
6. Netsanet Desta (Ethiopia) – 48:46
7. Alem Nigus Tsadik (Ethiopia) – 48:48
8. Mercy Cherono (Kenya) – 50:23
9. Stephanie Bruce (United States) – 50:40
10. Jackie Gaughan (United States) – 51:02
The women's race combined exceptional depth with remarkable speed, as several athletes broke the 49-minute barrier in a contest that showcased the global strength of elite road running. Gebreselama's record-breaking run now stands as a new benchmark in the rich history of the Boilermaker 15K, adding another memorable chapter to one of the United States' most celebrated road races.
by Erick Cheruiyot for My Best Runs.
Login to leave a comment

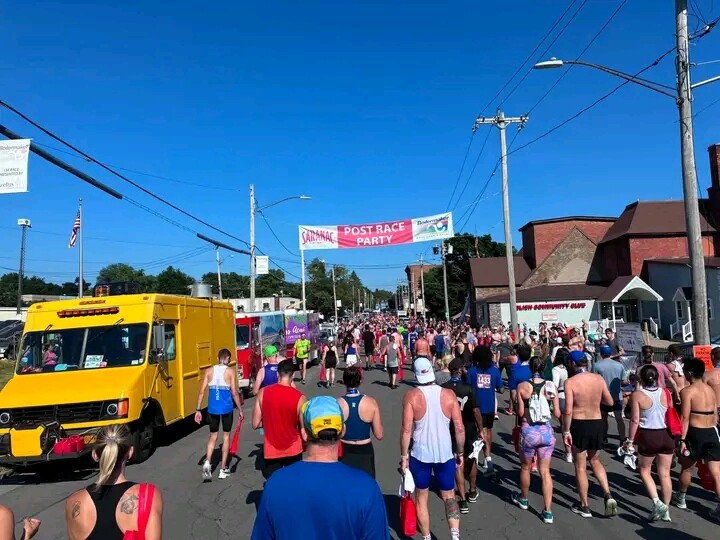
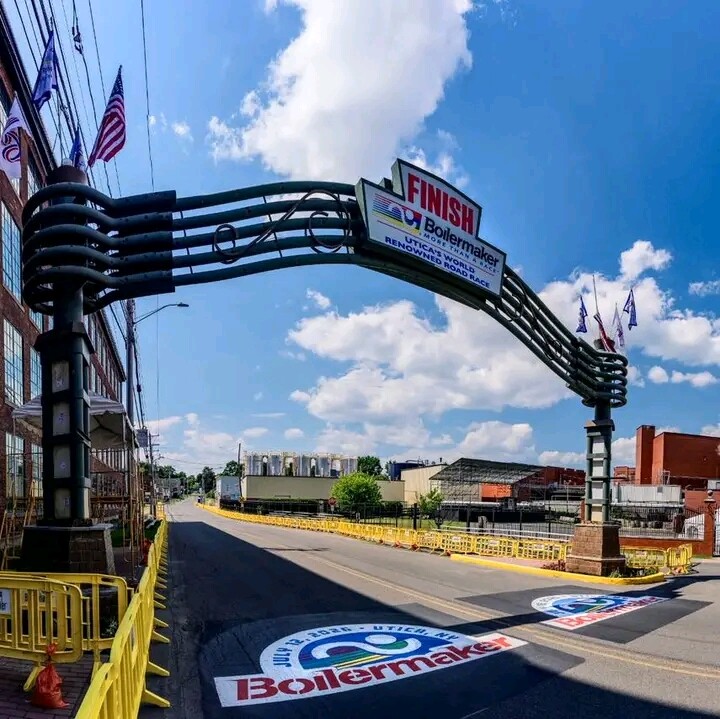
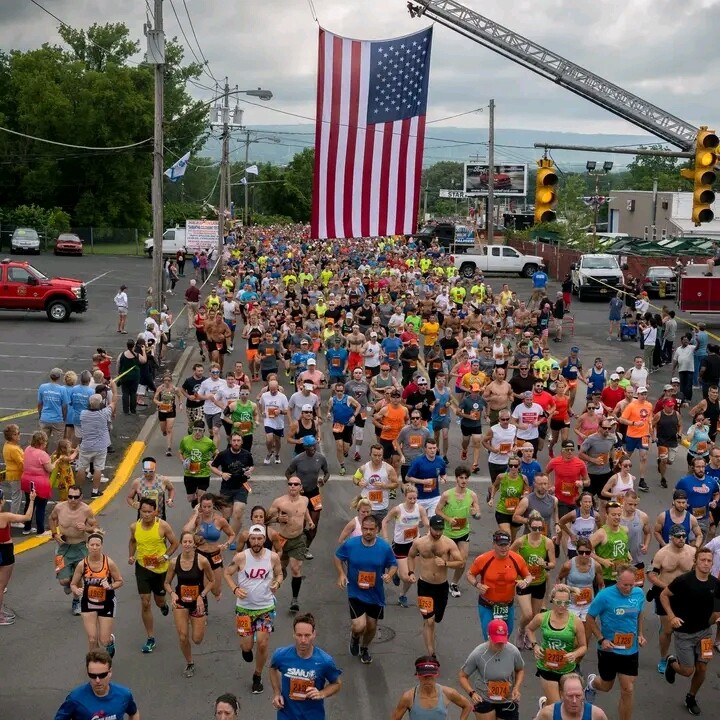
Boilermaker 15k
The Boilermaker 15K is the premier event of Boilermaker Weekend. This world krenowned race is often referred to as the country's best 15K. The Boilermaker 15K is recognized for its entertaining yet challenging course and racing's best post-race party, hosted by the F.X. Matt Brewing Company, featuring Saranac beer and a live concert! With 3 ice and water stops every...
more...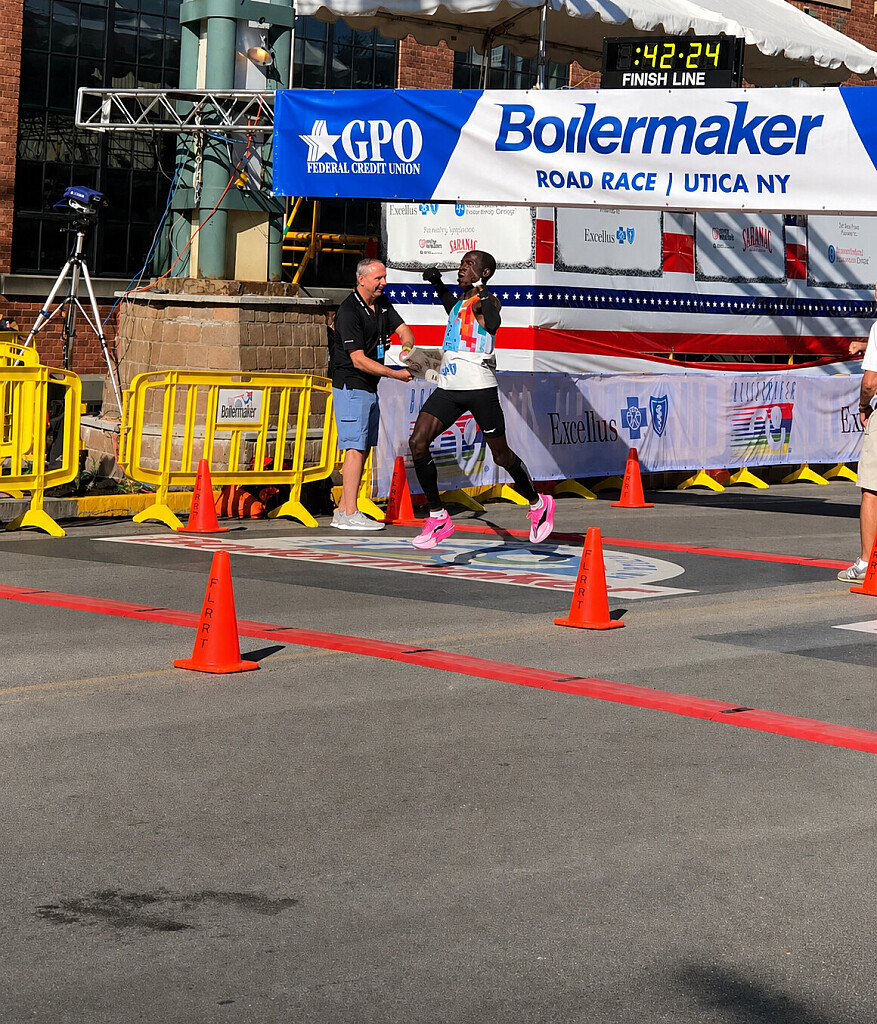
Elite Performances Highlight Boilermaker 15K as Alex Matata Takes Top Honors
Kenya's Alex Matata delivered a sensational performance to claim the men's title at the prestigious Boilermaker Road Race 15K in Utica, New York, producing a dominant run that underlined his growing reputation as one of the world's finest road racers.
Matata surged to victory in an outstanding time of 42:24, mastering the demanding course with a display of strength, speed, and tactical brilliance. His commanding performance secured a memorable triumph in one of the United States' most celebrated road races, adding another significant international victory to his career.
Kenya's success was further highlighted by Kiprono Sitonik, who produced an equally impressive run to finish second in 42:53, completing a remarkable one-two finish for the East African nation. South Africa's Adam Lipschitz rounded out the podium after clocking 43:14 to claim third place following a determined effort.
The race featured a highly competitive international field, with American athletes Reid Buchanan and Hillary Bor finishing fourth and fifth respectively, while another Kenyan, Victor Shitsama, added to his country's strong showing by taking sixth place.
Matata's victory once again showcased Kenya's enduring strength in global road racing, as its athletes continued to dominate major international competitions through exceptional endurance, tactical awareness, and relentless finishing speed. His performance in Utica not only thrilled the spectators lining the streets but also reinforced the depth of Kenyan distance running on the world stage.
Men's Top 10 Results – Boilermaker Road Race 15K
1. Alex Matata (Kenya) – 42:24
2. Kiprono Sitonik (Kenya) – 42:53
3. Adam Lipschitz (South Africa) – 43:14
4. Reid Buchanan (United States) – 43:38
5. Hillary Bor (United States) – 43:40
6. Victor Shitsama (Kenya) – 44:02
7. Futsum Zienasellassie (United States) – 44:32
8. Charlie Sweeney (United States) – 44:37
9. Sam Lawler (United States) – 44:54
10. Tyler Berg (United States) – 45:08
With another major road racing title added to his résumé, Alex Matata continued his impressive 2026 campaign while reinforcing his status as one of the leading names on the international road racing circuit. The Boilermaker 15K once again delivered a high-quality contest, with athletes from across the globe producing memorable performances in one of the United States' most prestigious road races.
by Erick Cheruiyot for My Best Runs.
Login to leave a comment
Boilermaker 15k
The Boilermaker 15K is the premier event of Boilermaker Weekend. This world krenowned race is often referred to as the country's best 15K. The Boilermaker 15K is recognized for its entertaining yet challenging course and racing's best post-race party, hosted by the F.X. Matt Brewing Company, featuring Saranac beer and a live concert! With 3 ice and water stops every...
more...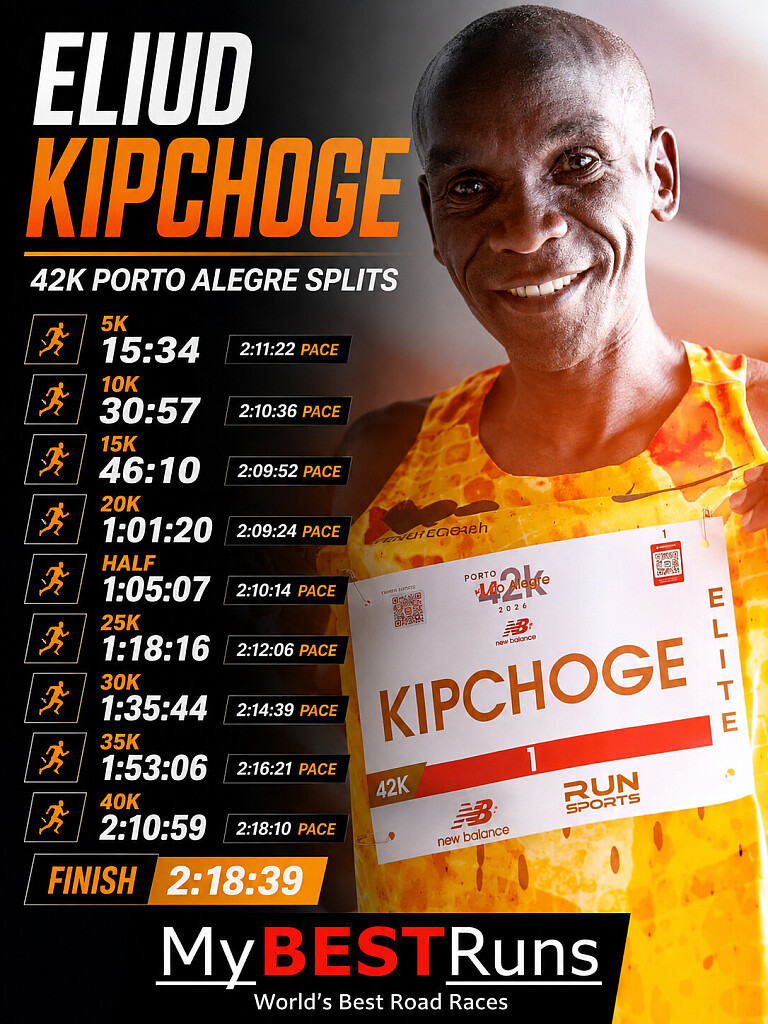
Beyond the Finish Line: Eliud Kipchoge's Journey Continues to Inspire the World
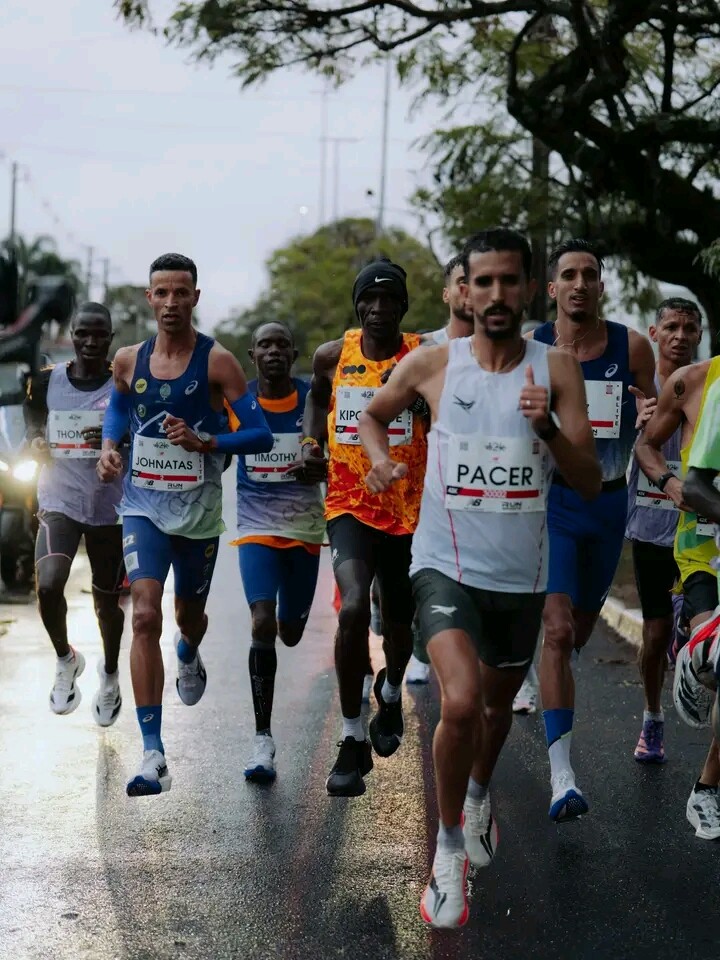
Eliud Kipchoge's remarkable World Tour continued on Brazilian soil as the Kenyan marathon icon completed the New Balance 42K Porto Alegre Marathon, crossing the finish line in 2:18:39 to place 12th overall during the second stop of his ambitious seven-continent global running tour.
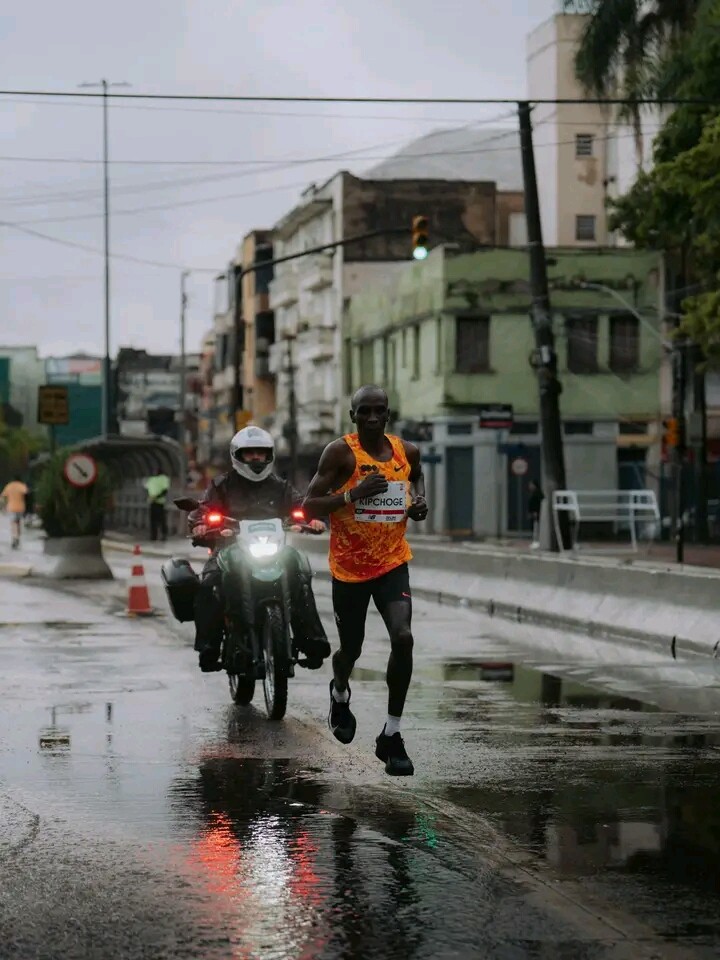
Competing against a strong international field, the two-time Olympic marathon champion displayed the resilience and determination that have defined his legendary career. While the result was not among the victories that have made him one of the greatest marathon runners in history, Kipchoge once again demonstrated the unwavering commitment that continues to inspire athletes and fans across the globe.
Morocco's Zineddine Ouria claimed victory in a superb 2:08:49, with Kipchoge finishing 9 minutes and 50 seconds behind the race winner after navigating the demanding course in Porto Alegre.
Kipchoge began the race with controlled and confident pacing, reaching 5km in 15:34 before passing the halfway mark in 1:05:07. As the race entered its decisive stages, the pace gradually slowed, but the veteran marathoner pressed on with characteristic determination, completing the 42.195-kilometre challenge in 2:18:39.
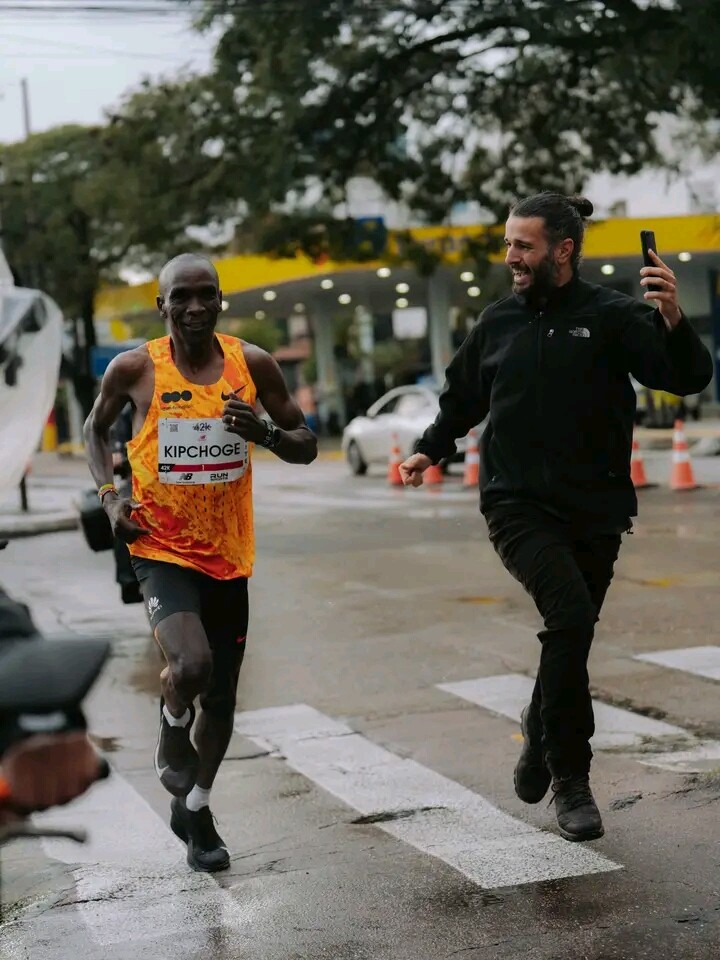
For many, the story will be told through the finishing position. But for those who truly understand greatness, this journey is about far more than medals, records, or podium finishes. Kipchoge's World Tour is a celebration of the sport itself—an opportunity to connect with runners across every continent, inspire the next generation, and continue living by the philosophy that has become synonymous with his career: "No Human Is Limited."
The Brazilian appearance also carried added significance, coming shortly after Kipchoge was permanently honoured in Porto Alegre with his footprints unveiled at the entrance of Parque Harmonia—a lasting tribute to his extraordinary impact on distance running and his enduring legacy in the sport.
Once a champion. Forever an inspiration. Legends do not stop inspiring when the victories become fewer; they inspire because they never stop showing up. Through every stride, every finish line, and every challenge embraced, Kipchoge continues to prove that true greatness is measured not only by what an athlete wins, but by the lives they touch along the way.
With the second stop of his World Tour now complete, Kipchoge will turn his attention to the next chapter of his global adventure when he lines up at the Melbourne Marathon in Australia this October. Wherever he races, millions will once again follow the journey of a man whose legacy extends far beyond the stopwatch.
by Erick Cheruiyot for My Best Runs.
Login to leave a comment