
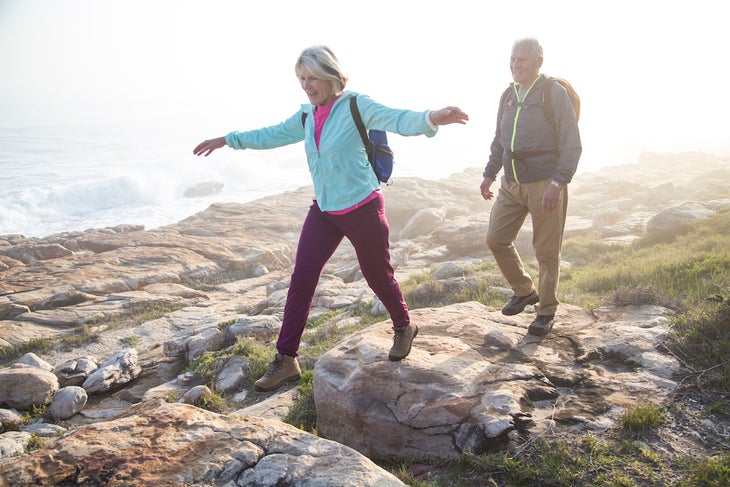
No matter what type of workout you have planned, you can finish it off with exercises that make you a stronger and more injury-proof hiker. The suggestions below are ideal for hikers who are short on training time yet want to address remedy common issues like knee pain or poor balance or add a boost of low-impact cardio before their next adventure.

Step-ups
Take 5 to 10 minutes to perform box step-ups after a workout. This short routine will provide an extra dose of exercise for the legs and lungs alike. Select a box height that is anywhere from mid-shin to about knee-high. Don’t have a box on hand? A park bench will do the trick. For an additional challenge, you can do these with a weight vest or while holding dumbbells. Alternatively, these can be performed as lateral steps up and over.
Lateral Step-downs
Lateral step-downs are an excellent option for hikers who experience knee pain while hiking downhill. This exercise requires a step of 6 to 8 inches in height. If there’s pain with the exercise at this height, lower the height to 2 to 4 inches and retry.
To perform a lateral step down, start by standing with your left foot on the step and your right foot next to the side of the step. Bending your left knee, slowly lower the right foot toward the floor and tap your heel. Be sure to keep your left knee in line with your left foot and behind your toes as you bend. Also, the lowering motion should come from your left leg, not from your right foot reaching for the floor.
Press through the left foot to return to the start position. Slow and controlled is the key here; fast reps won’t do you any good. Aim for a 3-second lower and a 1-second raise. Begin by performing three sets of 15 per leg and build up to four sets.

Treadmill Inclines
The treadmill is a great tool to help prepare for climbs, especially if you have a limited amount of time to train. This workout finisher is straightforward and helpful for building aerobic capacity for hill climbs. Set the treadmill at an incline level between 3 and 6 percent and set a pace to keep you moving steadily for 10 to 15 minutes. Focus on nasal breathing during the session to mimic climbing a hill while hiking. Nasal breathing will help to keep the intensity where it’s most beneficial for hikers and optimize training time. To progress, add a weighted pack, and increase the incline or speed while maintaining nose breathing.
Row or Bike
Utilizing the rower or bike as a training tool can be helpful, especially if there’s a history of any joint pain. These machines are low-impact and excellent at building aerobic conditioning for hiking.
For the rower, a 1,000-2,000 meter low-to-moderate effort focusing on nasal breathing will provide a great cardio workout finisher while targeting some of the larger muscle groups that hikers need. On the bike, pedal for 10 to 15 minutes with a low-to-moderate effort to maintain a consistent cadence or watts. Focus on nasal breathing for this workout also.
Balance
Good balance can be the difference between staying dry while crossing a creek or ending up with wet feet. Not to mention that balance also builds ankle stability, which is helpful on a technical trail. This often overlooked component of training also serves us well in life beyond the trail.
A few balance exercises are easy to fit into a daily routine, fit in between larger groups of exercise, or practice at the end of a workout. There are two types of balance: static and dynamic. Static balance is done on a hard surface without additional movement. Dynamic balance typically incorporates less stable surfaces and/or adds motion to challenge balance further.
Static balance at home might look like standing on one foot while the coffee or tea brews, while your food reheats in the microwave, or while you brush your teeth.
In the gym, add dynamic balance with a weighted pass. Stand on one leg and hinge at the hips so the torso is slightly forward. Transfer a 10-pound weight from one hand to the other while maintaining balance. Balance for 20 seconds per leg and repeat three times.
Lee Welton is a physical therapist assistant and personal trainer in Southeast Idaho. He thru-hiked the Pacific Crest Trail in 2018 and trekked through the Dolomites in Italy. He can typically be found hiking and exploring the trails in Idaho and Wyoming. For more information, videos, and resources from Welton, visit trailsidefitness.com.